Introduction
According to a central point of view, the human skull serves a truly huge yet fundamental capacity in our bodies. They help to safeguard our feeble frontal cortexes from harm, and they house our teeth, eyes and various bits of our bodies we use reliably. Learn this blog and visit the
kids drawing easy.
They have taken on a disgusting hindering us of life, and they are for the most part seen in dreadful settings, unnerving films or forewarning sides. We will get this spookier side in this helper on the most capable strategy to draw a cartoon skull. Skulls may be considered to be somewhat appalling and surprising, but nothing still needs to be feared in this helper!
We will isolate it to show you that drawing this magnificent arrangement can be more straightforward than you normally suspect. So plan for some wonderful drawing fun as we make on this walk by-step guide on the most capable technique to draw in a cartoon skull just 6 basic errands!
Stage 1 - Cartoon Skull Drawing
To begin this associate on the most effective way to draw a cartoon skull, we will at first draw the changed top of the sull. This will be drawn using a clear round line that circles interior on the right-hand side.
Then, on the right-hand side we will add a wavy line that is by all accounts a retrogressive 3. These lines will lay the reason for the development of the skull, and in the accompanying several means we will continue to add more parts.
Stage 2 - As of now, draw the eye connections and various nuances
When in doubt, eye connections on a skull can't move, yet this cartoon skull drawing will be an exclusion! We will start this second step with these eye connections, and they will be arranged agreed with the retrogressive 3 line we pulled in the past step. They will have a couple of changed lines on the upper inner corners, and this helps with giving the skull a more malicious enunciation.
The eye on the left will have a line on the right-hand side connecting down to the nose. That could sound jumbling, yet the reference picture will make it comprehended! Finally, add a couple of extra twisted lines over the eye connections, and a short time later add one more bowing line on the right 50% of the head.
Stage 3 - Next, draw the nose, teeth and various nuances
For this third piece of the helper, we will add the nasal despondency close by specific teeth for this skull. The nasal wretchedness will communicate with that line that was annexed to the eye on the left. It will be confined into two fragments that are changed with a sharp tip between them.
Then, we will draw the teeth, and these can be a piece unstable. Each tooth connection will be own squared section has a little line above them. We will then add a wavy cheekbone under the eye on the right. Finish by adding a couple of additional humble lines near the back of the skull, and a while later we can proceed!
Stage 4 - By and by, draw the jaw
We can finish the jaw of this cartoon skull drawing in this step, and that will set you up for the last nuances in the fifth step. In any case, we will define the base boundary of teeth. These will be drawn in a similar manner to the top line. Then, at that point, we will add a changed jaw stretching out, and a while later this will be related with a genuinely jaunty jaw.
That's all there is to it, when it looks as it does in our reference picture we can progress forward toward the last nuances in the accompanying phase of the helper!
Stage 5 - Add the last nuances to your drawing
You have fundamentally finished this drawing, yet before you live it up concealing it in the accompanying stage, we triumph ultimately a last nuances to remember this step of our helper for the most capable strategy to draw a cartoon skull.
Specifically, we will add a shadows and disguising to the skull. We will use a couple of thick dim shapes on the inside pieces of the eyes, but we will give a couple of small white sections to make the covering look more exceptional.
Then, we added a disguising to the side of the skull as well. Right when you have added these shadows, you don't need to stop there! You could add a couple of extra nuances and maybe add an establishment for specific contemplations. Maybe this skull could be roosted on top of a privateer's fortune map or in an unnerving spot! What considerations do you have for this drawing?
Stage 6 - Finish your drawing with assortment
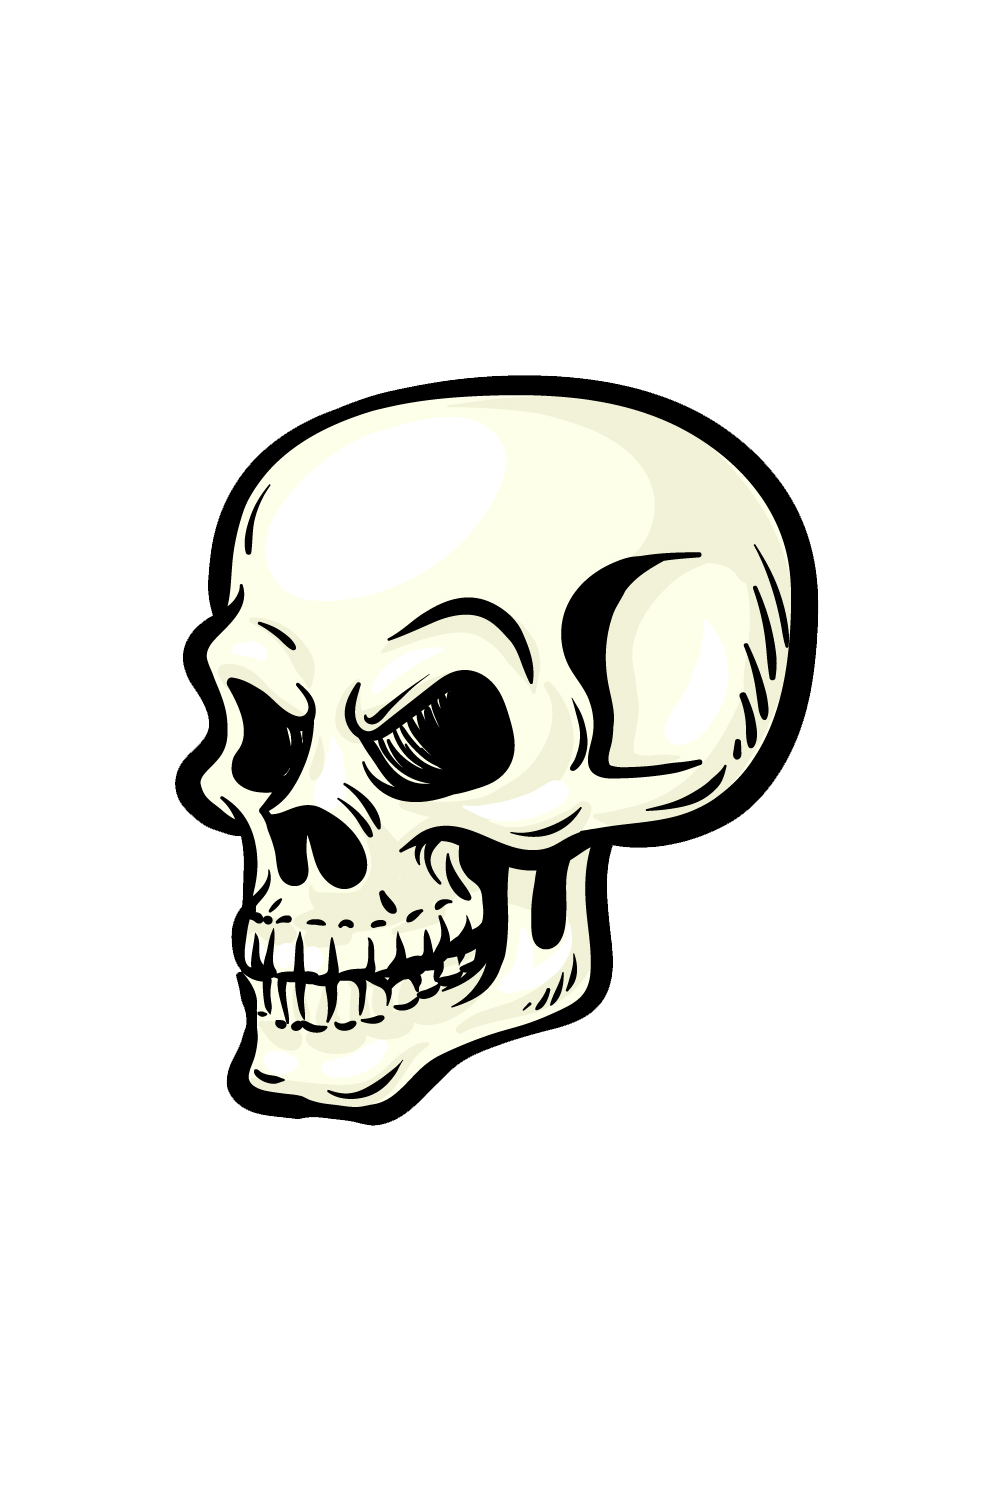
For the last step of the helper, we will live it up adding an assortments to your creation! In our model picture, we showed you what this skull could look like expecting you went for a couple of extra reasonable tones. We included a couple of light yellows and beige tones for the skull, and this causes it to appear to be certified bone.
You could use similar tones to our own, but you could in like manner use various assortments to keep it looking pragmatic. Then again, you could go for some thoroughly fascinating assortment choices taking everything into account in case you like!
If you should go for a practically identical spotlight on our model, we would propose some watercolor paints. Anything you use will look bewildering in any case, so feel free to live it up and examination!